
The short answer
A ductless mini-split is a good fit for rooms or homes that central ductwork serves poorly or not at all. We size each zone, check electrical capacity and wall routes, then install the indoor heads and outdoor unit and confirm they heat and cool as designed.
A ductless mini-split puts heating and cooling exactly where a room needs it, with no ductwork to build or repair. ReliableAir HVAC Services plans and installs these systems for San Jose homes that have a hot upstairs bedroom, a converted garage, a new accessory dwelling unit, or a whole house that never had ducts in the first place. Each indoor head is paired with an outdoor condenser through a small refrigerant line set, so the work is far less invasive than adding a central system. Below we explain how to tell whether a mini-split is the right answer, what we look at before recommending one, how to think about fixing an older unit versus starting fresh, and what really drives the scope of an installation.
Rooms and homes that are telling you to go ductless
Most homeowners call about a mini-split after living with one stubborn space for a few summers. In the Santa Clara Valley, dry summer heat builds up fast in second-floor rooms and in additions that were tacked onto older ranch houses, and the existing ducts simply cannot push enough air that far. In mild, damp winters the same rooms can feel clammy and cold while the rest of the house is fine.
These are the patterns that usually point toward a ductless system rather than more patchwork on the central one:
- A garage, attic or basement conversion that has no supply register at all
- A new backyard ADU or in-law unit that needs its own controls
- A bedroom that runs several degrees warmer or colder than the hallway thermostat
- Window or portable AC units that are loud, drafty and blocking the view
- Electric baseboard or wall heaters you would like to retire
- An older home with no ductwork where adding a duct system would mean tearing into ceilings
What our technician evaluates before quoting
A mini-split is only as good as its layout. Before we suggest equipment, we walk the space and measure how it actually gains and loses heat. A west-facing room with large windows in a hotter inland neighborhood behaves very differently from a shaded room closer to the Bay, even if the square footage matches.
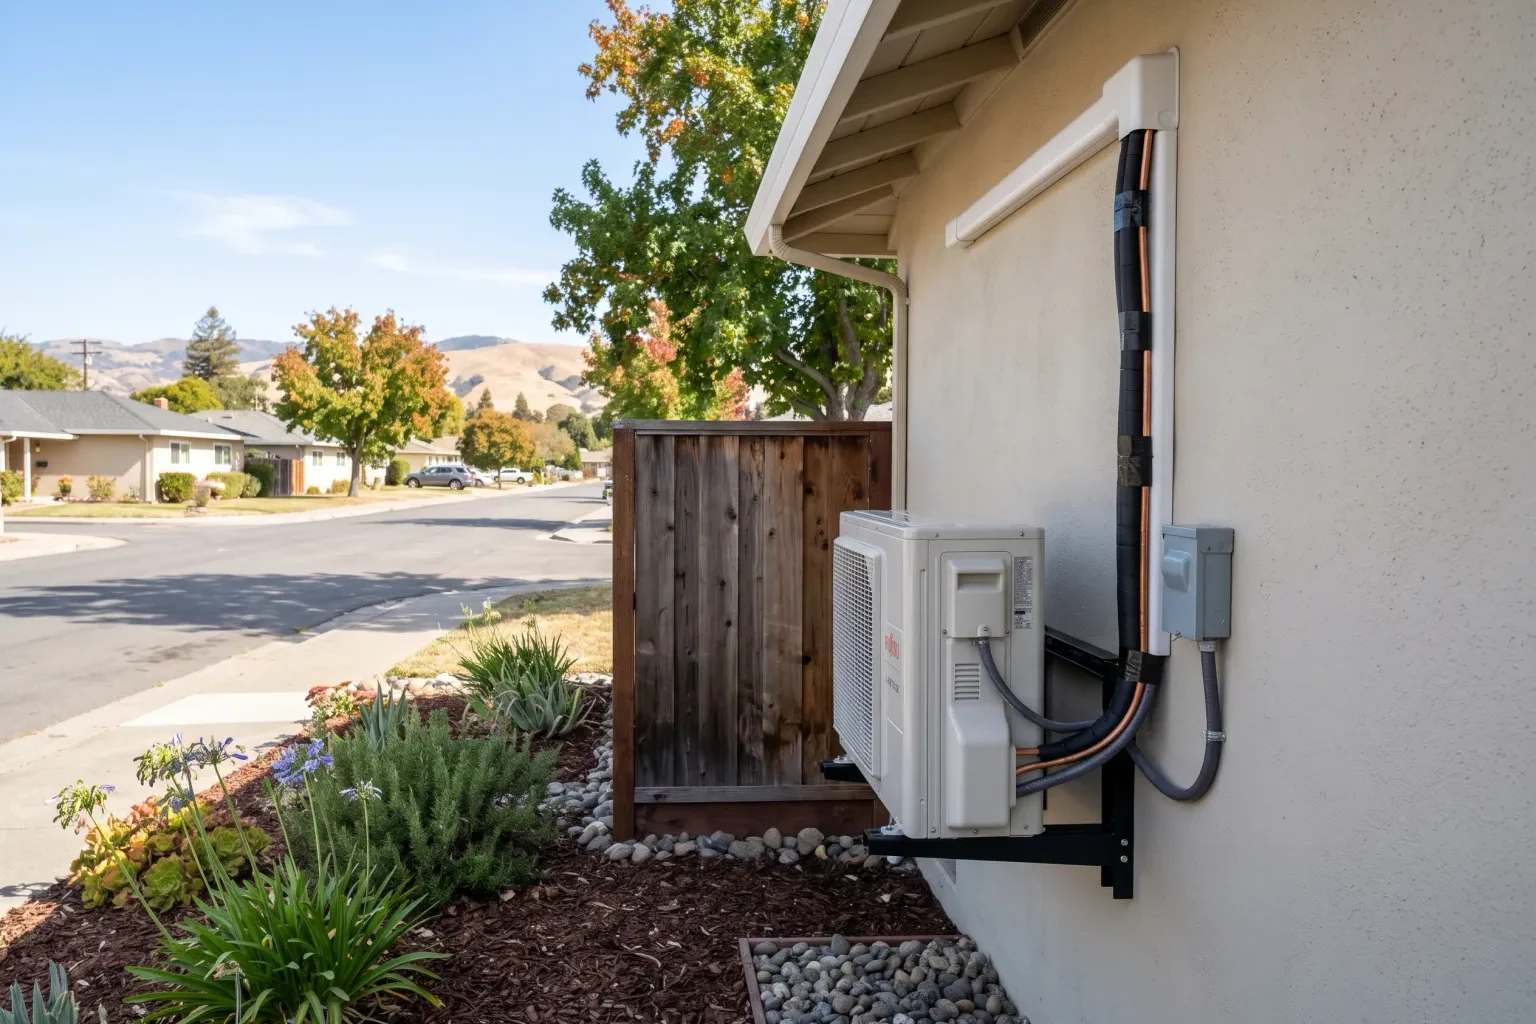
We also look at the practical details that decide where the hardware can go. The outdoor unit needs a level pad or wall bracket with airflow clearance and a reasonable path back to the electrical panel. The line set needs a route through an exterior wall that avoids studs, plumbing and visible clutter. Condensate from each indoor head has to drain by gravity or with a small pump, and we decide that up front so nothing drips into a wall cavity later.
Finally, we check the main panel. Many San Jose homes built decades ago have panels that are already near capacity, and a new dedicated circuit may require some electrical work. Knowing that before installation day keeps the schedule honest.
Fixing an aging mini-split or replacing it
Some homeowners already have a ductless system that is starting to slip. A head that blows weak air or ices up, an outdoor unit that short-cycles, or a remote that no longer talks to the unit can often be fixed: a clogged coil, a failed sensor, a low refrigerant charge from a leaking flare joint, or a dirty blower wheel are all repairable problems.
Replacement makes more sense when the compressor has failed on an older outdoor unit, when the system uses a refrigerant that is no longer practical to service, or when you want to add zones that the existing condenser cannot support. We lay out both paths in plain terms, including what each one means for comfort and future upkeep, and let you decide. If the existing line set is in good condition and compatible, reusing part of it can sometimes simplify a replacement.
What shapes the scope and cost of the project
We do not publish set pricing because no two installs are the same. The final figure depends on a handful of variables that we explain line by line in your written estimate:
- Number of zones, since each room with its own indoor head adds equipment and labor
- Style of indoor unit, such as a high-wall head, a floor console, or a ceiling cassette
- Distance and difficulty of the line set route between indoor and outdoor units
- Electrical upgrades, including a new circuit or panel work
- Mounting needs for the outdoor unit, such as a ground pad, roof stand or wall bracket
- Line hide covers and other finishing that keep the exterior tidy
- Permit requirements from the city where you live
- Any heat pump or electrification incentives you qualify for, which we check with BayREN and your local clean energy provider before quoting, since offers change by funding cycle
How an installation visit unfolds
It starts with an in-home assessment. We measure, talk through how you use each room, and mark proposed locations for every head and the outdoor unit. You get a written proposal that shows the equipment, the layout and the work involved, and you can ask us to adjust it before anything is scheduled.
On installation day the crew protects floors and furniture, then drills a small opening for the line set, mounts the indoor heads, sets the condenser and runs the electrical. After the refrigerant lines are connected, we pull a vacuum to clear moisture and air from the system, release or adjust the charge, and test each zone in both heating and cooling. Before we leave, we show you how to use the remote or app, how to set schedules, and how to rinse the washable filters, which is the single most useful habit for keeping a mini-split quiet and efficient.
Most single-zone projects finish within a day, while multi-zone homes may take longer depending on the routing and electrical work. We will tell you the expected timeline during the assessment.